Getting Started with Pybytes
If you did not get started with our devices yet, please follow this guide first.
Step 1: Create a Pybytes Account
If you already have a Forum or Webshop account, you can use the same credentials to log into Pybytes
Else, go to Pybytes and create an account
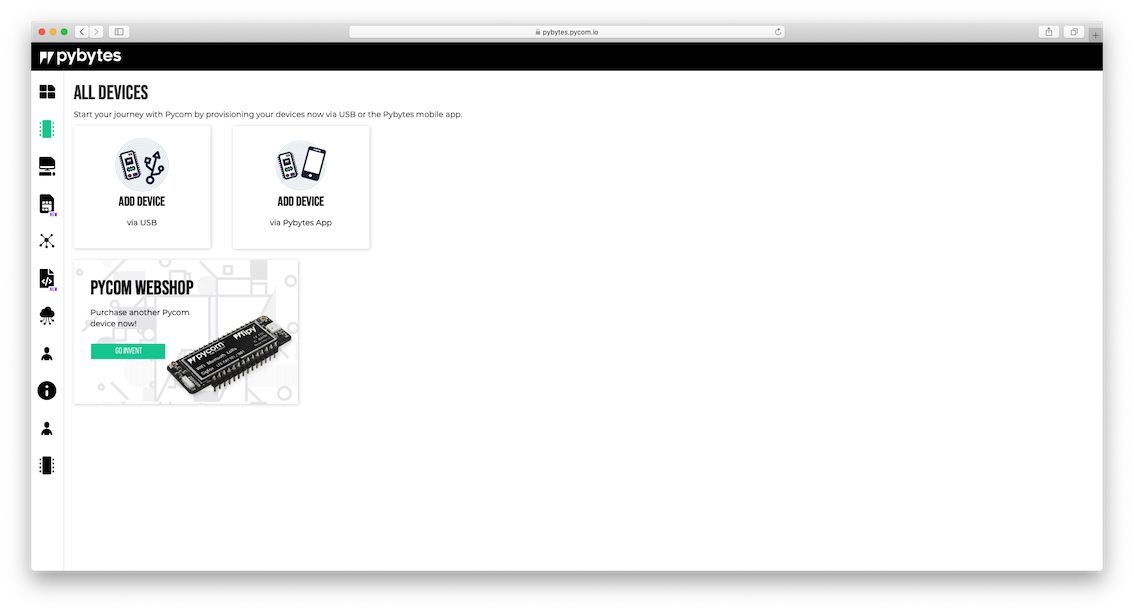
Step 2: Create a device
- Click on Add Device. You can either add a device using USB, or the Pybytes App. If you are planning on provisioning a lot of devices, we would definitely recommend using the Pybytes app. In this guide, we will describe the process using USB.
-
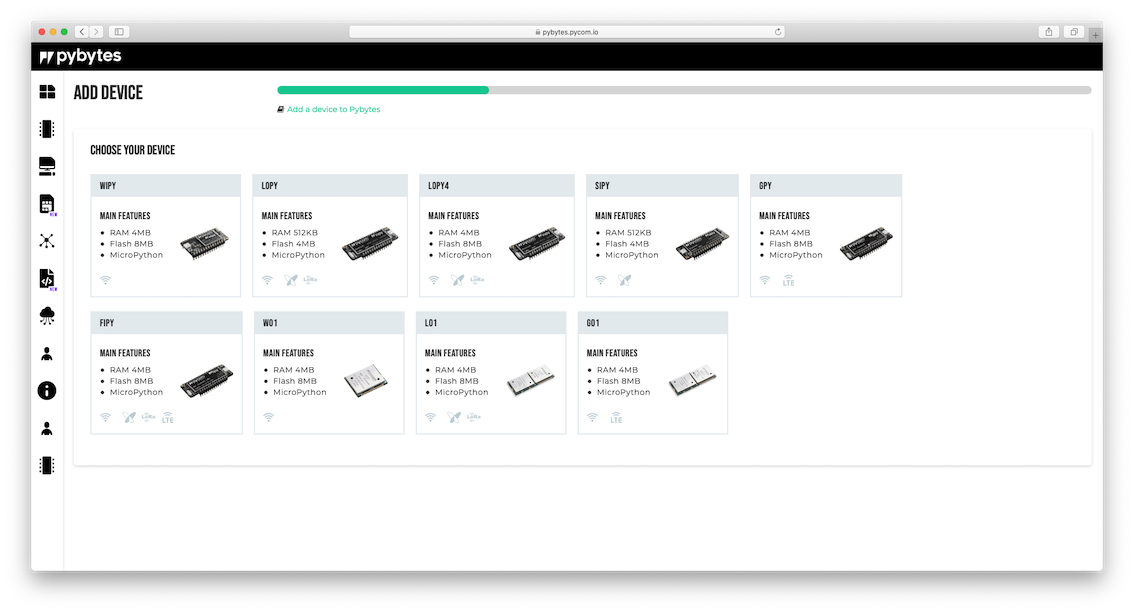
Select your device (WiPy, LoPy, SiPy, etc.).
-
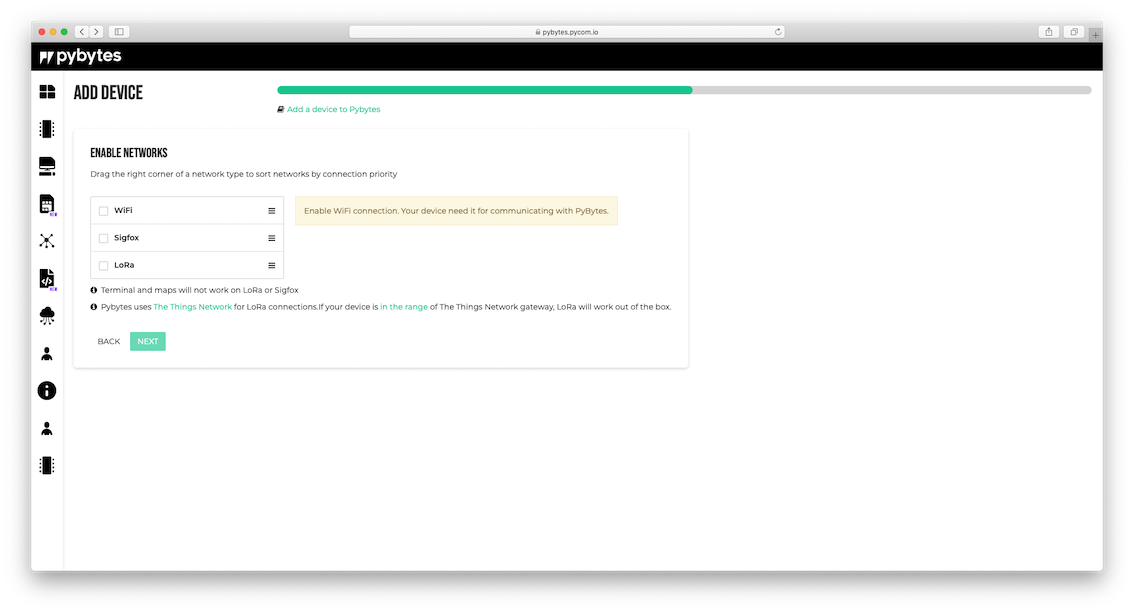
Select your network options. This will be how your device connects to both Pybytes and the internet. For now, we will choose WiFi. This will show a subwindow where you enter your WiFi credentials. This will only be used to connect your device with a WiFi network to access pybytes.
-
Enter a unique name for your device and hit save!

- At the end, Pybytes will show that your device profile was successfully created.
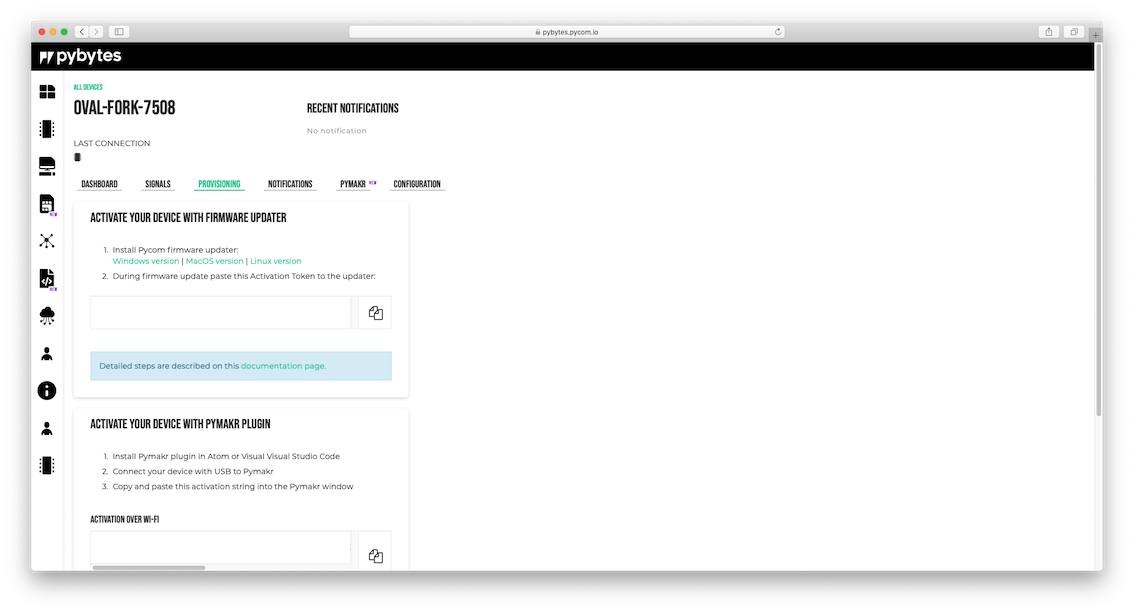
Step 3: Provision your device
After creation, you will land on the provisioning page. This is where we ‘inform’ the device about the Pybytes connection and how to set it up. The first time you set up the device for use with Pybytes, you will need to provision it using the Firmware Updater Tool. This is a good moment to become familiar with the tool here.
Offline provisioning
- Open the tool, select your board and select the bottom two checkboxes on this page
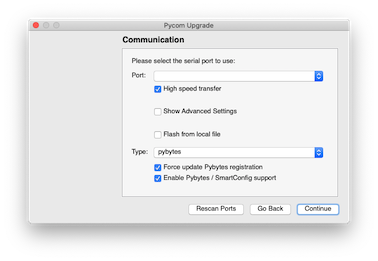
- This will ask for a
Pybytes activation token. Generate a token from pybytes and paste it in the Firmware Updater tool. This will instantly generate a success message in Pybytes.
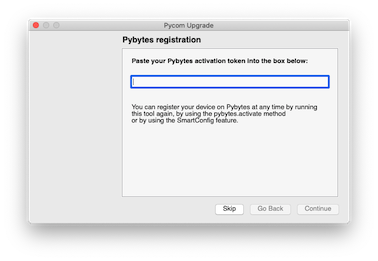
- Continue with the firmware update to the device.
Online provisioning
-
Download the app:
- Debian - Installer. Unzip file and run create-service.sh with root privileges.
- MacOS - Installer
- Windows - Installer
To check if the app is running:
- Debian - run
sudo systemctl status fwupdaterin your terminal. You should see the message that service is active and running. - MacOS - Either find
FwUpdaterprocess in System Monitor list, or runps aux | grep FwUpdaterthis command should return list of 3 processes. - Windows - find
Pycom Online Firmware Updatein Windows Task Manager at Services tab.
To restart the app:
- Debian - run
sudo systemctl restart fwupdaterin your terminal. - MacOS - Find
FwUpdaterprocess in System Monitor list and kill the process, service will restart automatically. - Windows - find
Pycom Online Firmware Updatein Windows Task Manager at Services tab, do the right click and choose ‘Restart’ option.
-
Click on
Online Firmware updaterat Provisioning tab on the device page.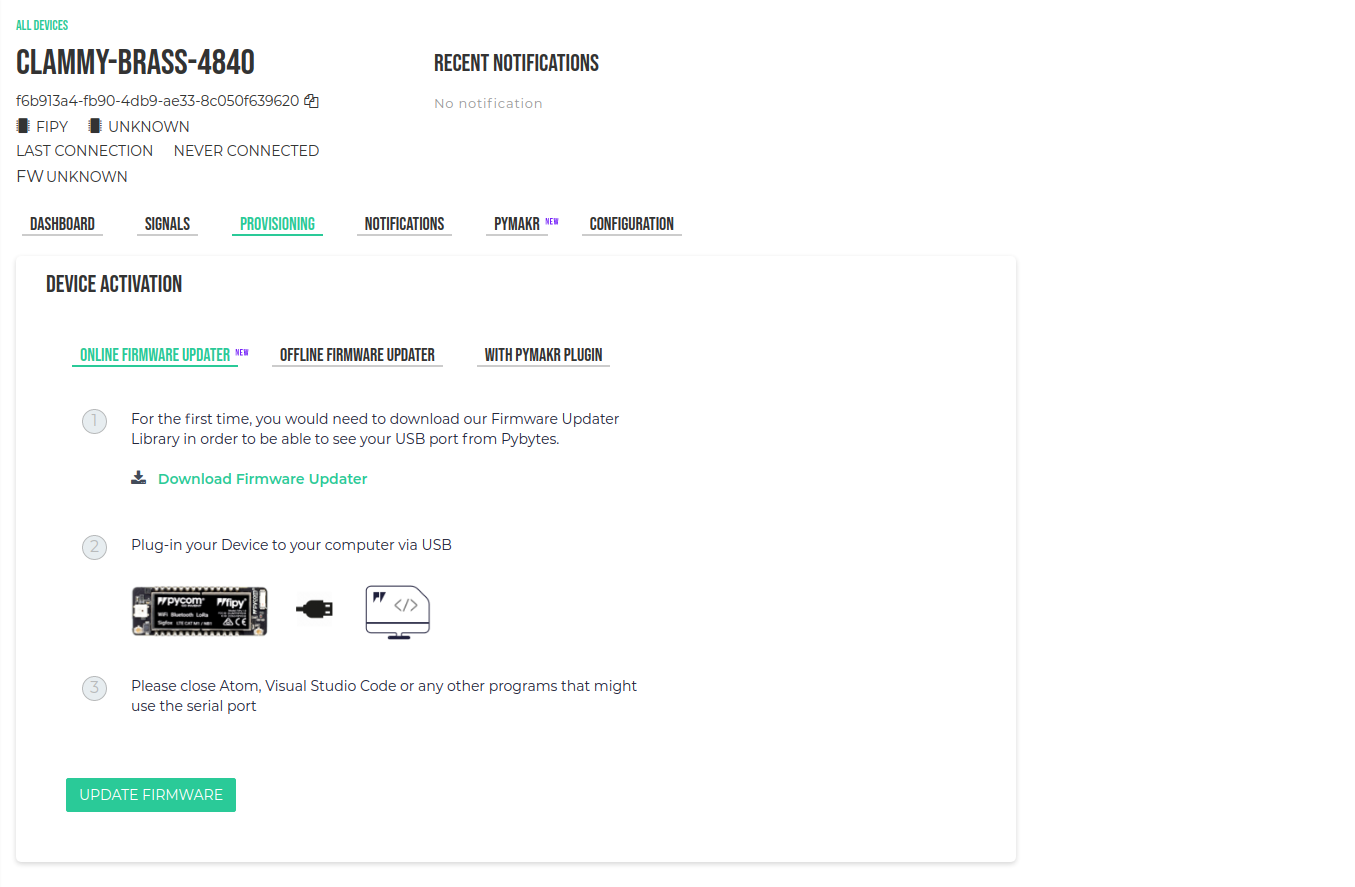
-
Click
Next.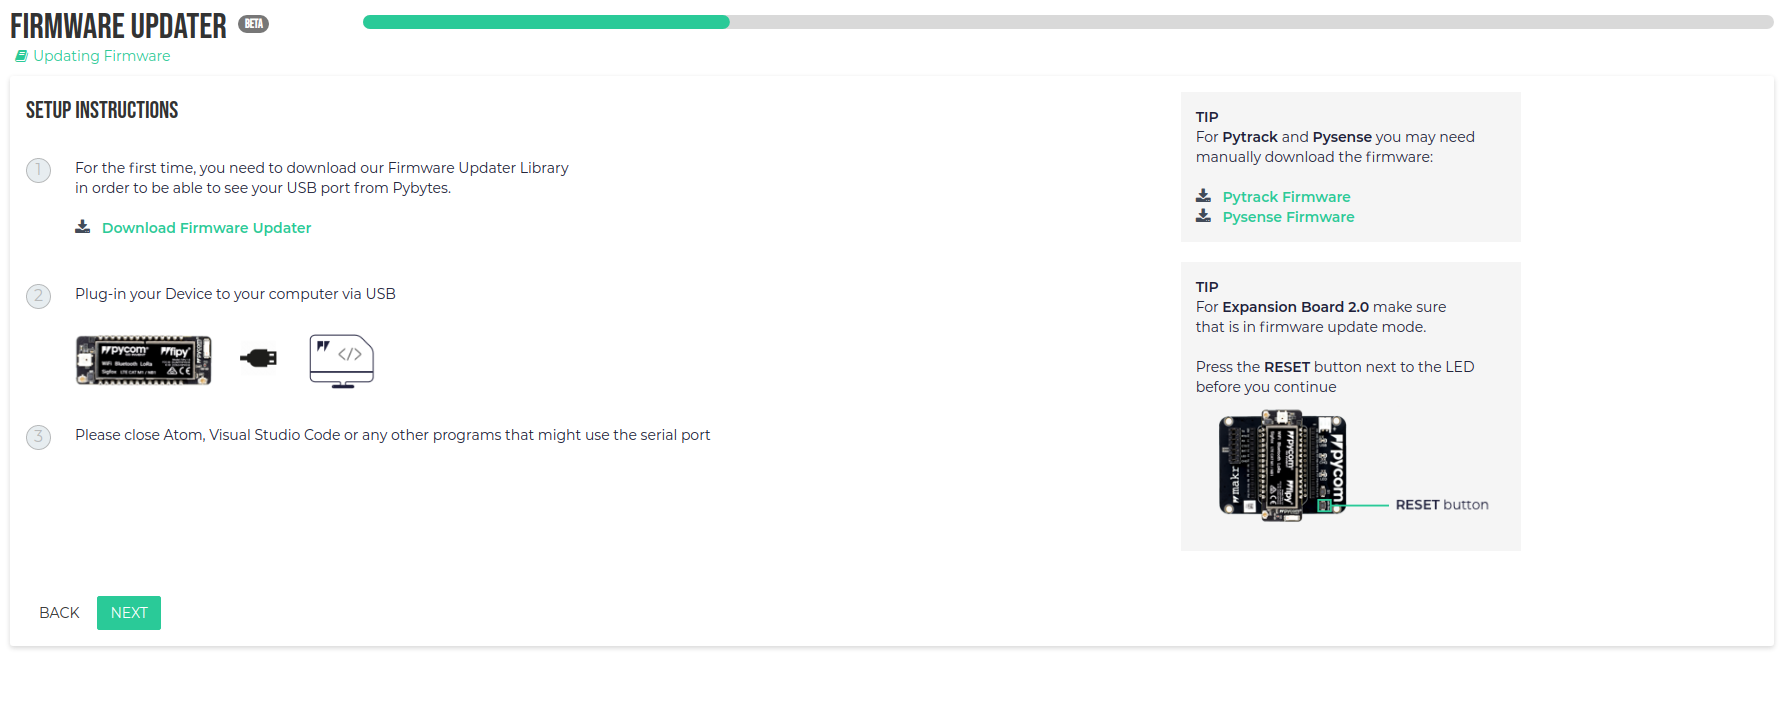
-
Select correct port to which your device is connected. Choose region and country. Select Firmware type and version.
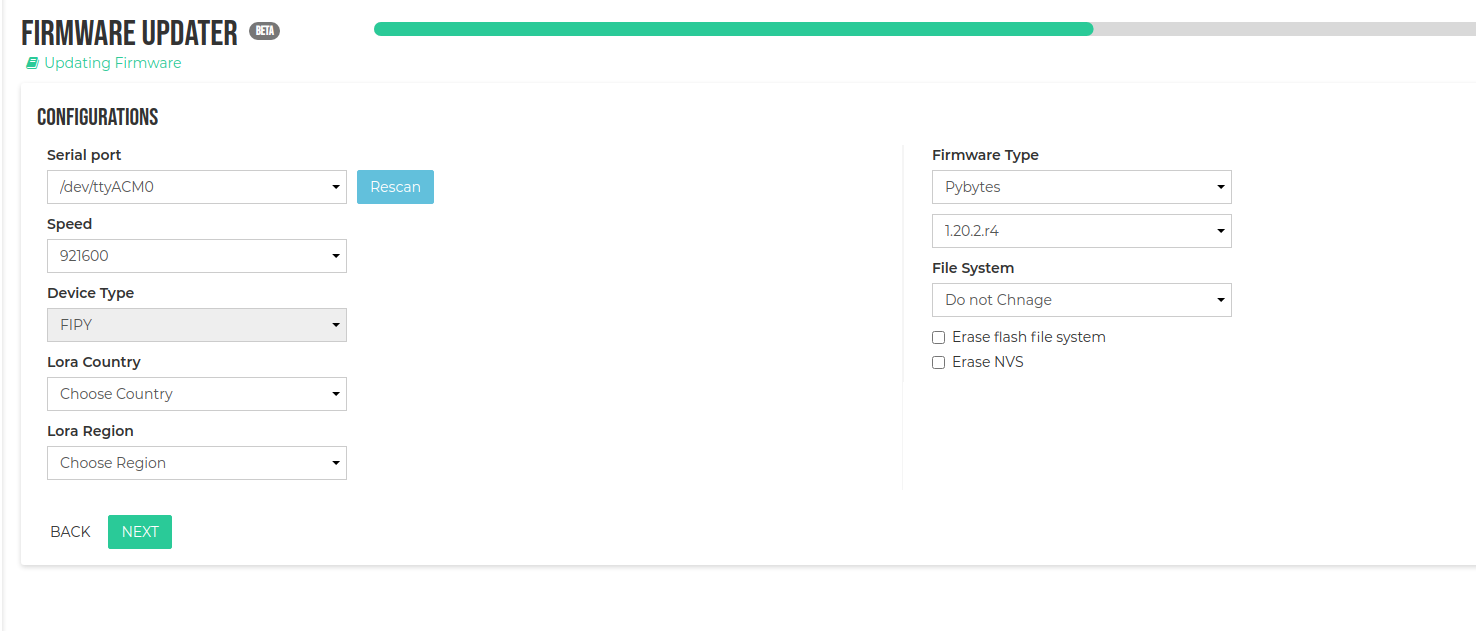
-
Continue with the firmware update to the device.
Step 4: Your first signal
-
Reset your Pycom device using the reset button. This will reboot the device and activate the Pybytes connection automatically. The output will look similar to this. You should see the
Last Connectionstatus in Pybytes change fromNevertoSeconds agoIf you get any kind of error message, check the WiFi credentials you entered are correct and that you are in range of this WiFi network
-
Now, in the REPL, you can type:
>>> pybytes.send_signal(1, "hello world")And it will show up on Pybytes in the
signalstab:
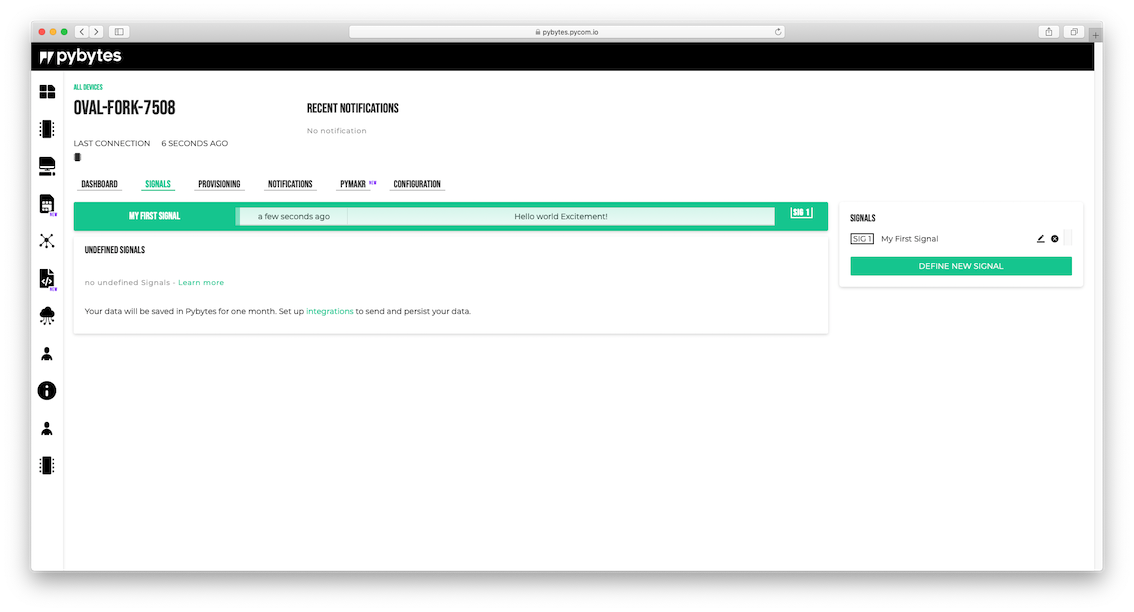
You can continue to display data from your device into the Pybytes dashboard